In this blog post, I will provide the steps required to install NetEdit 2.0.3 in vSphere, which includes custom settings for my home lab environment. The settings I selected have more to do with my hardware limitations, but as you’ll see this did not create any issues with the installation or performance.
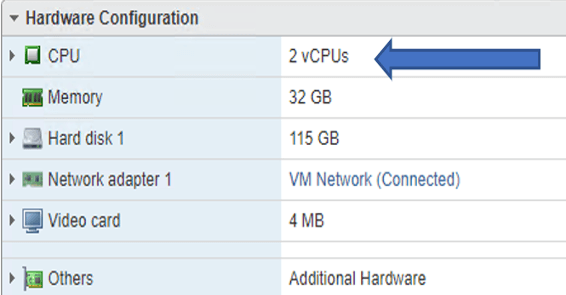
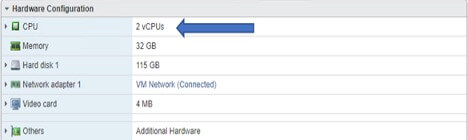
Aruba provided the OVA for v2.0.3 and the size is roughly 1.25GB. It’s supported on vSphere and it includes the following requirements (VM default CPUs is 6, VM default base memory is 32GB, and the VM default storage is 115GB). Due to my hardware limitations, I’m running it on an older Windows 10 laptop that includes 32GB RAM, 1TB hard drive, and an i7 processor. As you can see from the image below, I was able to accommodate the RAM and storage requirements, but I had to scale down the number of vCPUs assigned to this virtual machine to only two.
Aruba has provided an easy method to deploy this appliance and the hardware requirements are relatively low but as I mentioned above, I had to adjust them to accommodate my environment. However, I do want everyone reading this post to know that I did not notice any performance issues with the virtual machine and overall, it seems to be humming along quite nicely.
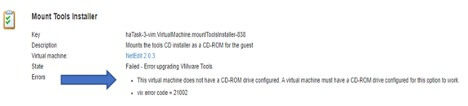
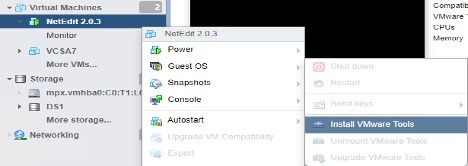
By default, the VM does not include VMware Tools. These tools allow detailed guest information to be displayed as well as allowing you to perform operations on the guest OS. As most people know, installing VMware Tools requires a couple of mouse clicks and a few moments to install, but please keep in mind that a CD-ROM drive must be included on the VM for this option to work. I initially did not include a CD-ROM drive while creating the VM and received the error below when attempting to install VMware Tools.
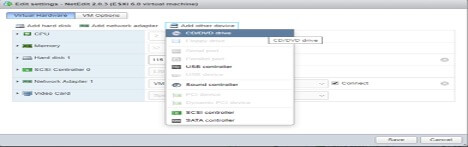
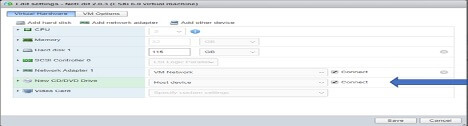
The steps required to install a CD-ROM drive are relatively straightforward but remember to Power Off the VM first.

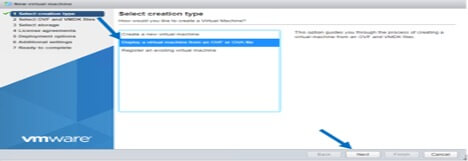
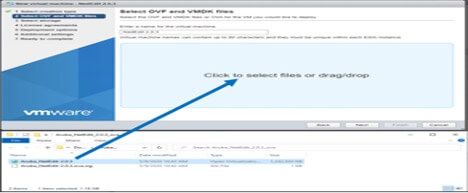
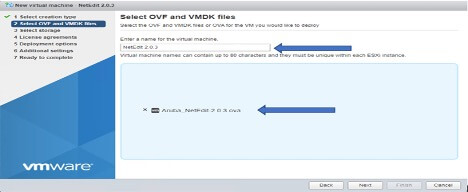
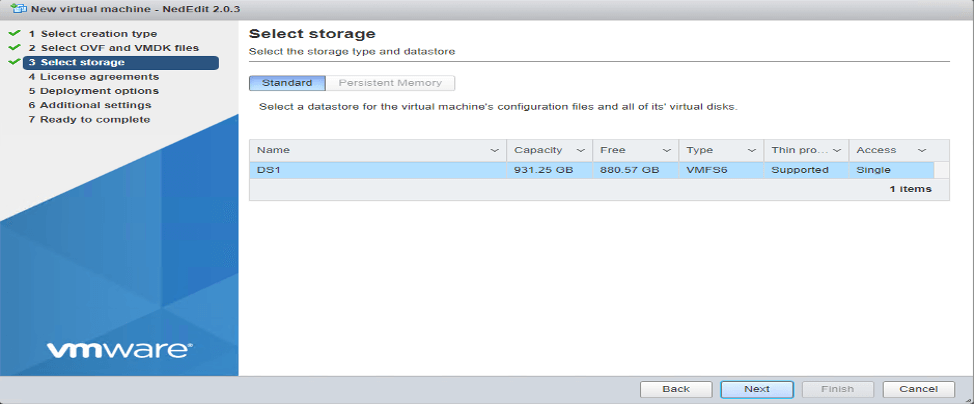
With my vSphere and virtual machine settings in place, let’s now turn our attention to installing the OVF. My friends at Aruba were kind enough to provide me with access to the OVA file including the installation and user guides. To start, please log into your ESXi console, select Create\Register VM, and follow the steps provided below:

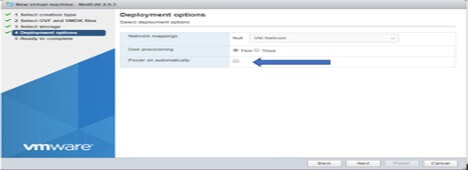
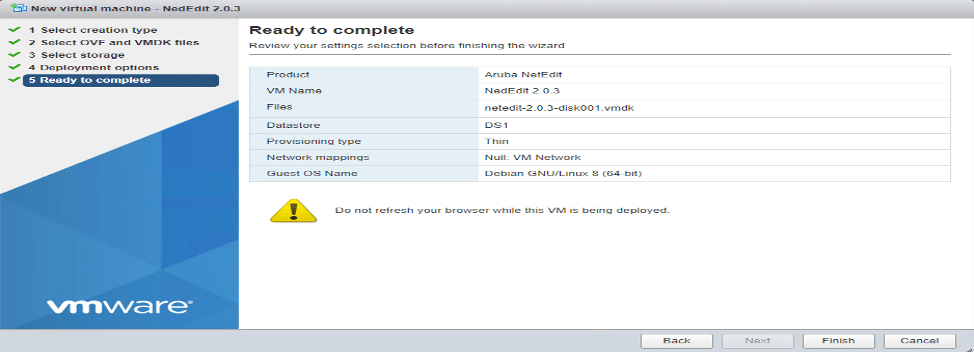
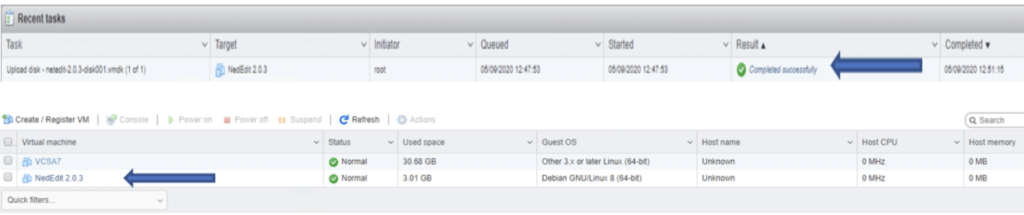
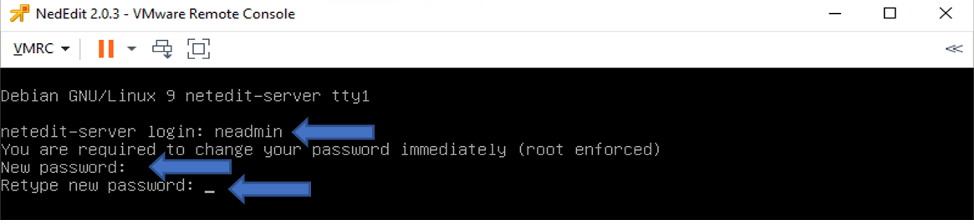
I had to adjust the settings of the OVA before powering it ON because of my hardware limitations but Aruba recommends the default configuration. Once everything is in place, power on the VM. By default, the username is neadmin and there is NO password. You are required to provide a new password immediately.
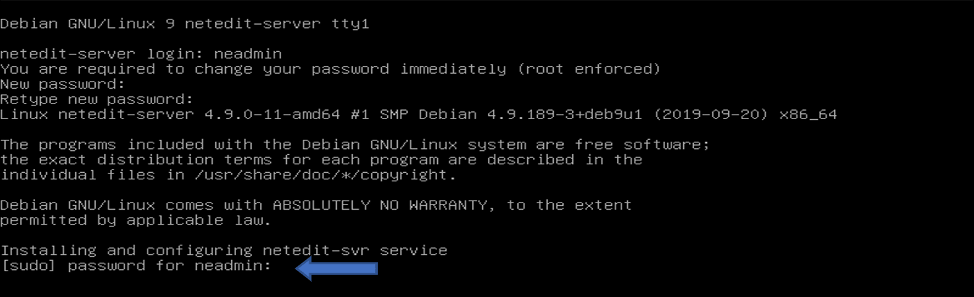
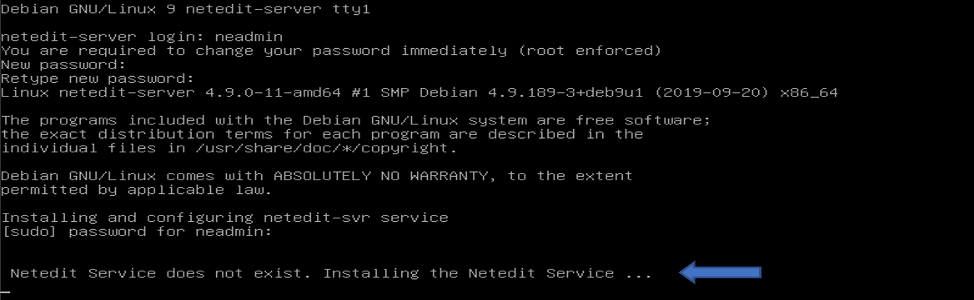
The Sudo password (same as above) is required for the Sudo user but provides root access to the environment. Once the password is provided, NetEdit begins to install as a service, and a wizard will provide additional steps to configure the environment.
Please use the TAB and ENTER keys on your keyboard to make your selections.
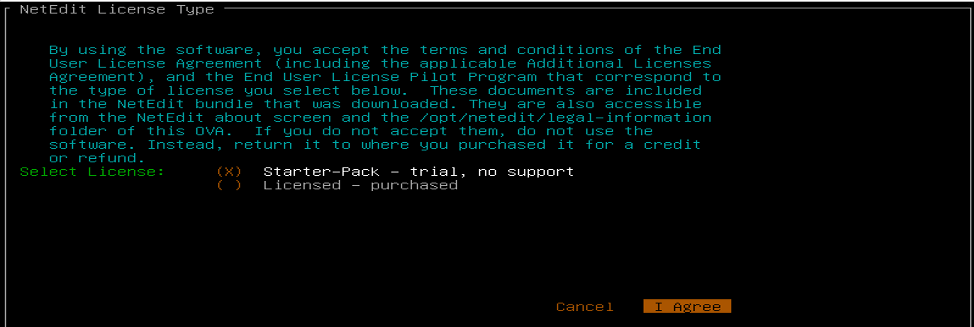
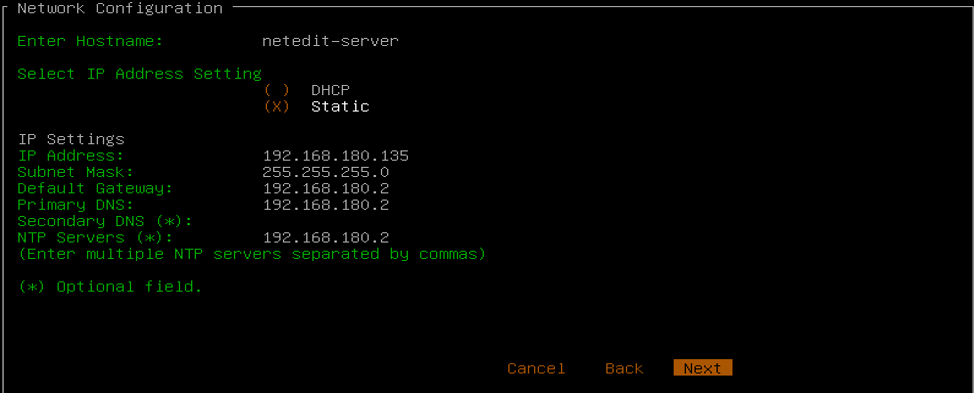
Since this is a test environment, please select Starter-Pack and select I Agree. For your IP settings, please select STATIC as your desired preference and set the NTP Server to match the IP provided for your Primary DNS.
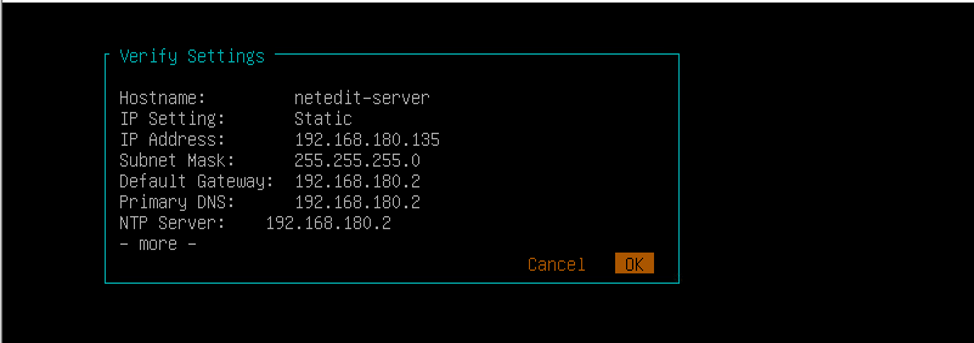

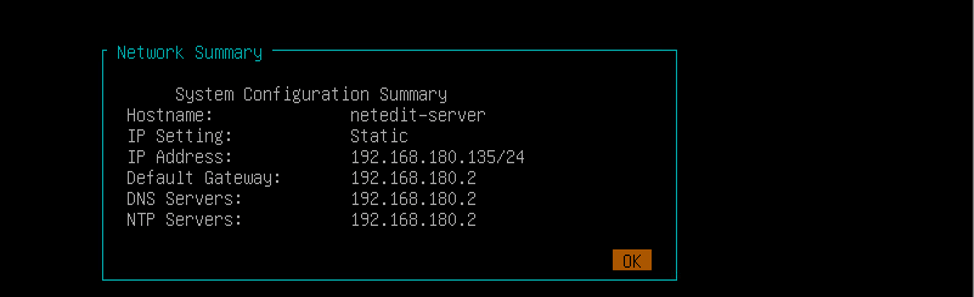

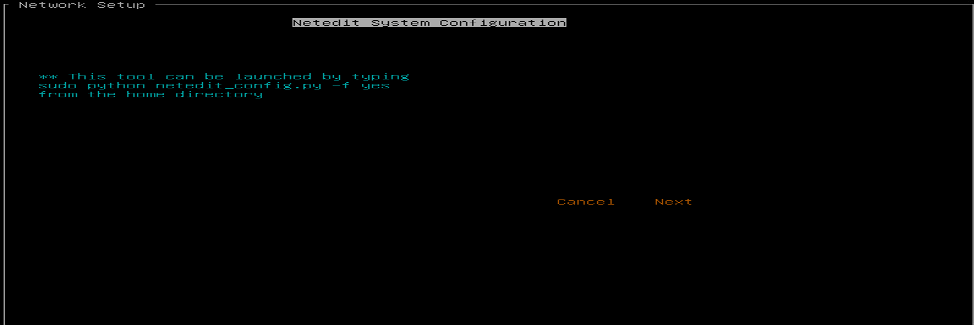
Once the settings above have been verified and applied, you can access the NetEdit server via web browser with the assigned IP address. In the event you decide to re-configure the environment, please type in the command highlighted by the Blue arrow above to start over.
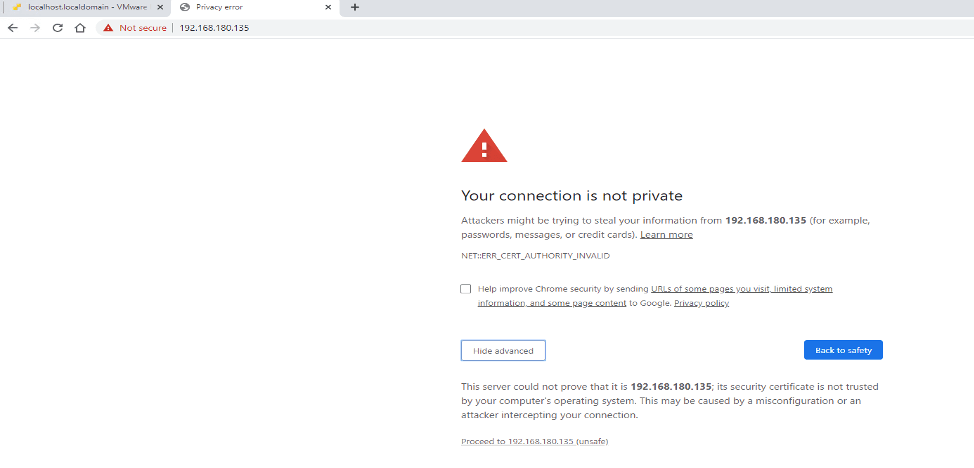
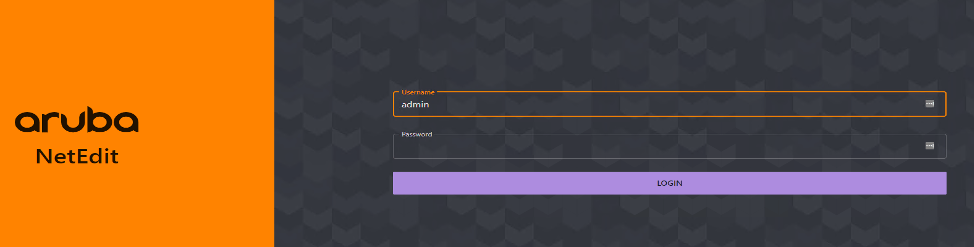
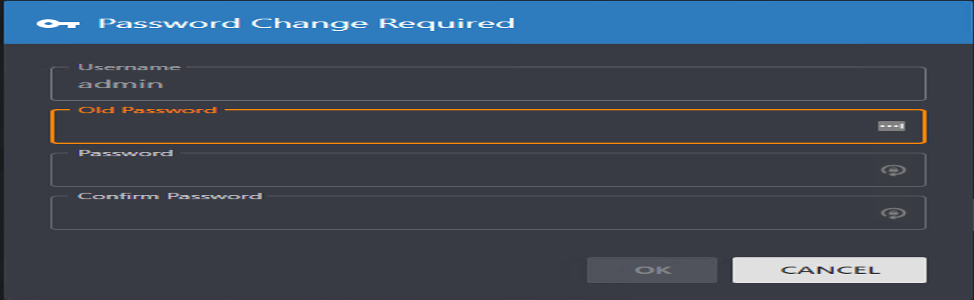
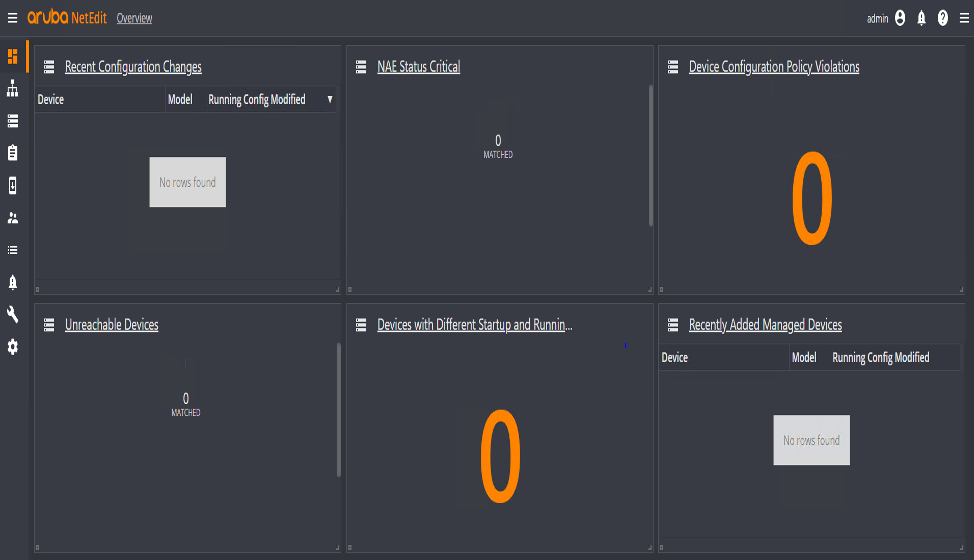
The account we previously used (neadmin) for the virtual machine will not be used to access the NetEdit server. Instead, the Username is Admin and there is no password by default. Upon logging into the NetEdit server for the first time using a web browser, you will be prompted to provide a password. Once you’ve successfully provided a new password, you will be redirected to the NetEdit portal which I described in my previous post.
As I put a bow on this series, I thoroughly enjoyed my experience including the configuration of the OVA and virtual environment. The entire process to stand up the virtual machine was extremely straightforward including the customization of the hardware. At first, I started to question how or why I got myself into this because my hardware environment didn't meet what Aruba recommends but that's the beauty of virtualization. The OVA allowed me to explore without spending a lot of time doing so. I didn't have to spec out a physical server including the various hardware components. Furthermore, if my deployment didn’t go as planned, there was no huge investment outside of the 30 minutes to spin up the virtual machine. As a side note, I spun up multiple instances of NetEdit in the span of one hour to ensure each of the steps documented above was accurate.
Check out the Airheads Community while you’re here. I hope you find this series helpful and I welcome any feedback or comments.