This is the first in our blog series on CX Switching Innovation. Aruba has followed a “customer first, customer last” philosophy since its founding in 2002 and this had led to award-winning products embraced by 80% of the Fortune 500. This blog series focuses on our innovative switch features that were built with the customer in mind, beginning with Stacking Automation delivered by the Aruba CX Mobile App.
Last October, we announced the Aruba CX 6300 Switch Series which supports up to 10-unit stacking via Virtual Stacking Framework (VSF). Included in the announcement were enhancements to the Aruba CX Mobile App which includes a new stacking automation feature. To walk us through how the app simplifies and speeds stacking automation for the CX 6300, I sat down with Matthew Fern, a longtime Aruban and currently a Technical Marketing Engineer.
Matt, I heard you say after you used the stacking automation feature in the Aruba CX Mobile App that you will never manually stack switches again. Can you tell me why you said this?
Anyone who has configured a switch stack knows how time-consuming and error-prone it can be. Connecting cables – sometimes in a tight space – preconfiguring each switch individually, and then working with them as a logical group, wondering if you connected everything correctly as you reboot and wait. All that is completely eliminated with the CX 6300 and the stacking automation provided in the Aruba CX Mobile App.
How much time does stacking automation save you?
The provisioning of a stack with the CX mobile app takes about five minutes, ten minutes max. If I had to do this manually, it would take over 30 minutes and that’s assuming no errors happen during each individual switch configuration. For example, say each reboot takes about three minutes and I’m configuring a 10 member stack. That’s almost 30 minutes without even taking into account assigning member IDs, making sure the stack is in the right order, and then redoing processes if it’s not. With the CX Mobile app, the configuring and rebooting of each switch in the stack is done simultaneously. I don’t need to wait after each reboot to make sure the switch joined the stack. I seriously will never manually provision a stack again!
Don’t you still have to do a lot of those same steps even with the stacking automation?
Yes and no. Yes, you need to wait for rebooting once you’ve got everything stacked, and naturally there are still cables and power cords, but the provisioning is all done over Bluetooth and Wi-Fi. And the rebooting of all switches happens at the same time, not one at a time. You really don’t have to touch the switches after you’ve got them cabled up. The CX Mobile app gets you to basic connectivity in just five to 10 minutes so that the switches can be further configured using other orchestration tools, such as Aruba NetEdit.
You sound really excited about this feature. Can you walk me though how it simple it is?
Sure, here are the basic steps:
- Unbox the switches and plug in the included Bluetooth adapters.
- Connect the switches. There’s no need to preconfigure anything.
- Power the switches on.
- Take out your mobile device (phone or tablet running Android or iOS) and download the free Aruba CX Mobile app from the Apple or Google store.
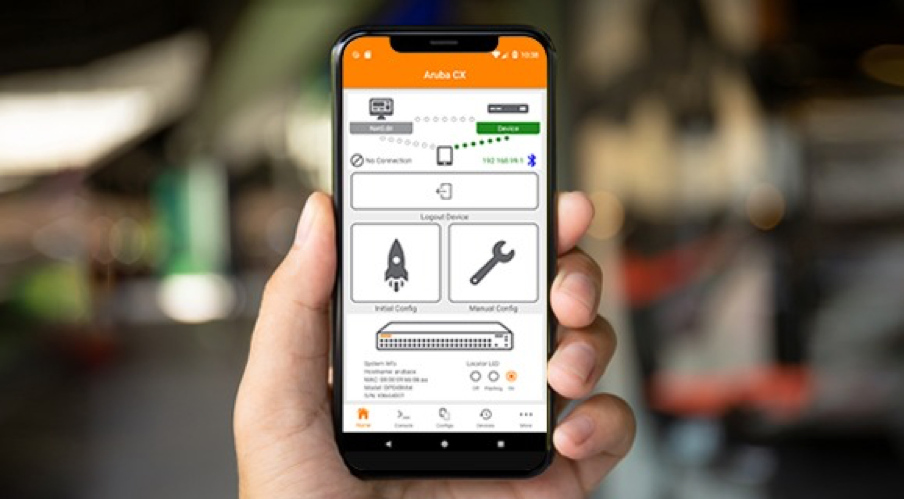
- Select your “Conductor” switch and pair it with your device, then launch the app. Tip: Verify you have the right switch by comparing the data on your mobile device with the orange pull tab on the front of the switch.
- Launch the app and choose Deploy a new stack. The app automatically locates all switches to be stacked based on the switches you’ve connected.
- Assign member IDs and verify their order using the Topology view in the app and compare it with the LED locator lights on each switch.
- Select Provision and reboot the stack (links are configured by the app).
- Configure the stack as you would an individual switch. Config templates are available to help with this.
- Select Deploy and you’re done.
That does sound pretty easy. How do you verify it’s the right config?
CX Mobile provides the info you need for configuration conformance. Before you select the “Deploy” option, you can review your configuration which includes a high level topology view. It’s very straightforward. If you have any changes you can go back and make them.
Hopefully you can see why I’m so excited about this app. It saves a lot of time in provisioning a stack and also time that could be lost when errors happen.
Thanks for sharing your insight Matt!
To learn more about how to simplify your switch installs, configurations, with validated config conformance, visit Aruba CX Mobile App.