We've always faced challenges when it comes to mounting APs for temporary Wi-Fi networks.
I'm talking about spaces that can't be modified with mounting brackets on the wall or in a ceiling – such as a hotel hospitality suite or convention center. And going to such lengths would be overkill for a Wi-Fi network that will only be up for 2-3 days. A lot of our customers face the same challenges when hosting receptions and events that require temporary Wi-Fi coverage, such as in a tent on a lawn.
In the past, we've resorted to less-than-elegant solutions to mount APs in these situations.
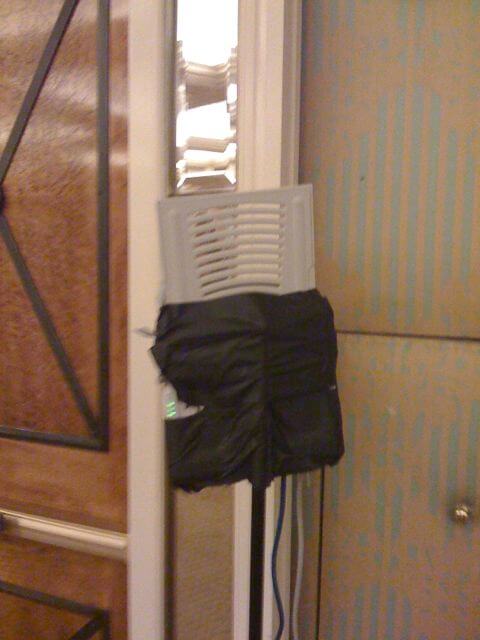
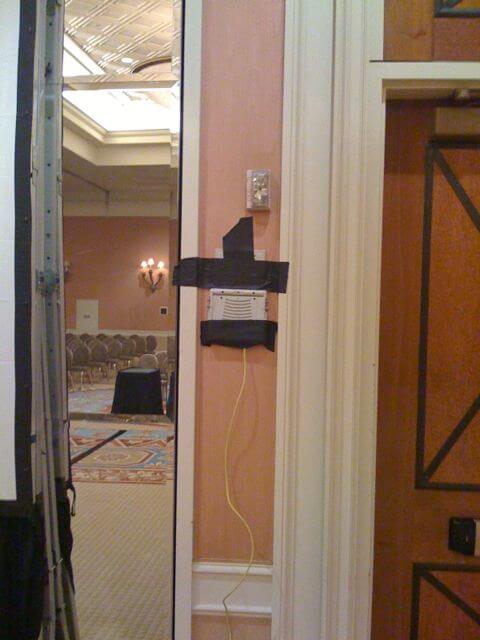
While this works, it's not the best approach and it's a pain to do. Removing yards of tape from APs isn't a great way to wrap up a successful event. Last year I had it with this method, so with our events manager, Brad Hogan, we invested in a trade show kit.
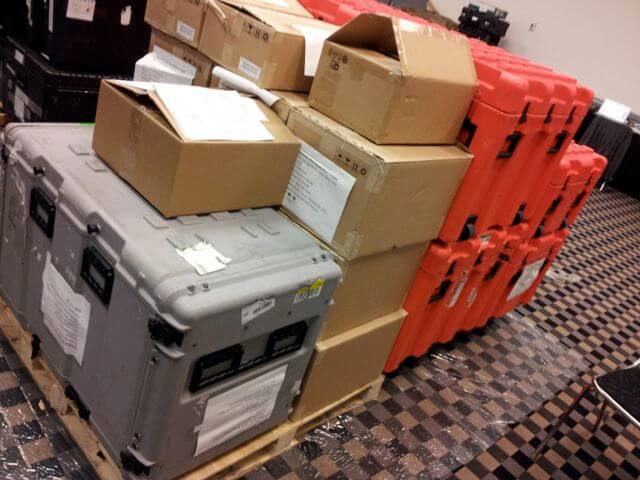
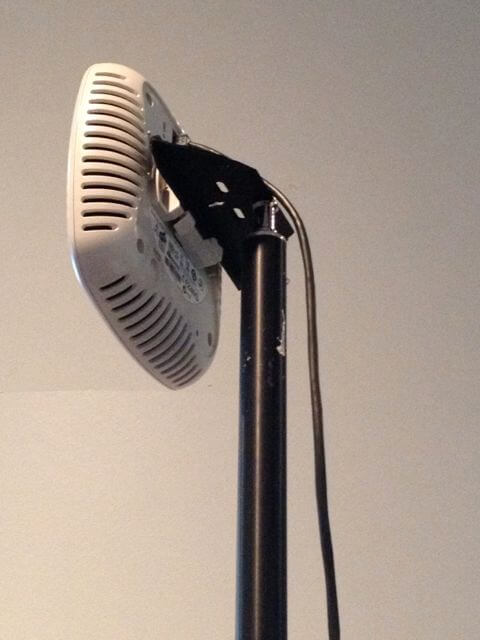
Part of this included mounting stands for the APs. We purchased 13-foot heavy-duty lighting stands from Paul C. Buff, Inc., a professional photo lighting retailer.
These stands were incredibly flexible once the APs were mounted on top – we could extend them high enough in any direction to overcome any RF obstacles. And they fold up quite nicely, which makes it easy to ship and store.
Next, we enlisted the help of James Copello from the Aruba facilities team. We explained what we needed and he fabricated a set of stands that utilize Aruba's ceiling rail mount system. The following list has the necessary equipment for this build:
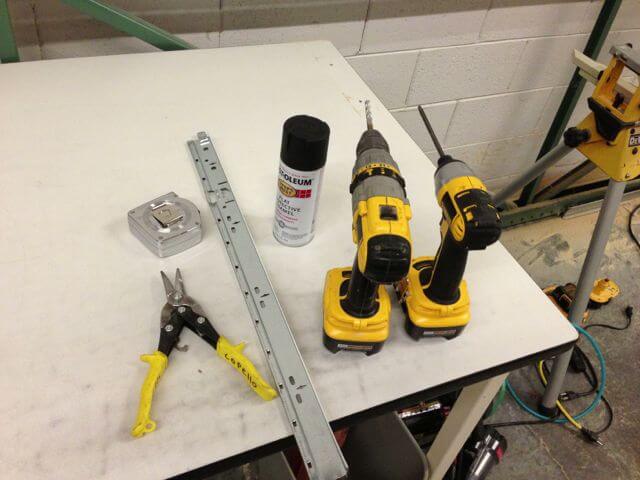
- Power drill and clamp or drill press for large quantity builds
- 5/16" drill bit
- Metal shears or a band saw for large quantity builds
- A box of 1/4"-20 nuts
- Spray paint (optional, but looks nice)
- 1" T-bar ceiling rails
The first step in the build was to cut an appropriate length of ceiling rail. James determined that 6" was sufficient for the job.
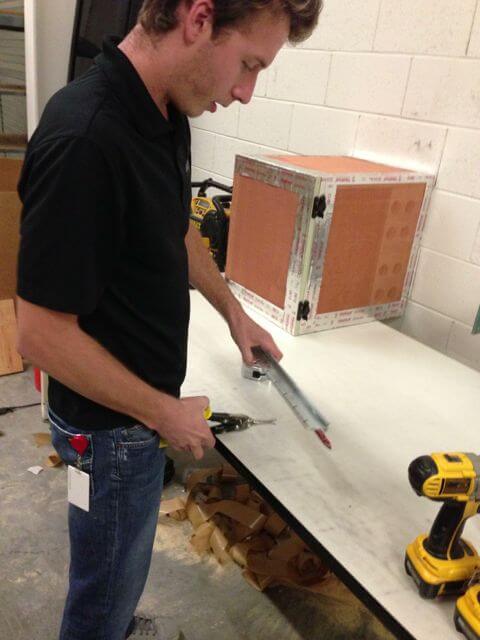
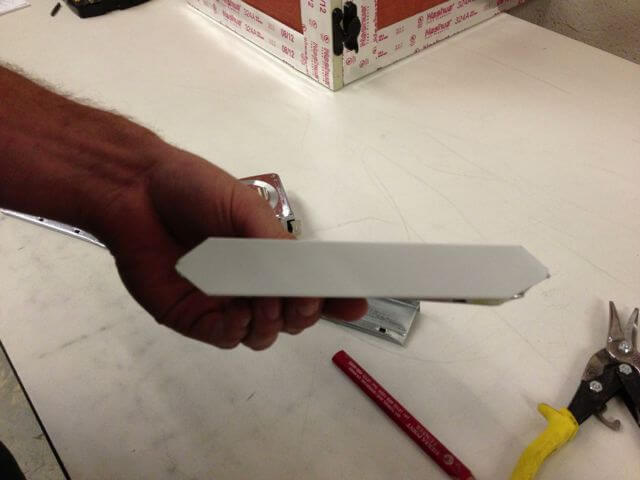
James then trimmed the corners off the rail. Optionally these could be sanded if you have a table sander handy. We didn't, and it hasn't proved to be an issue so far.
The next step was to drill a hole. This was centered in the ceiling rail section.
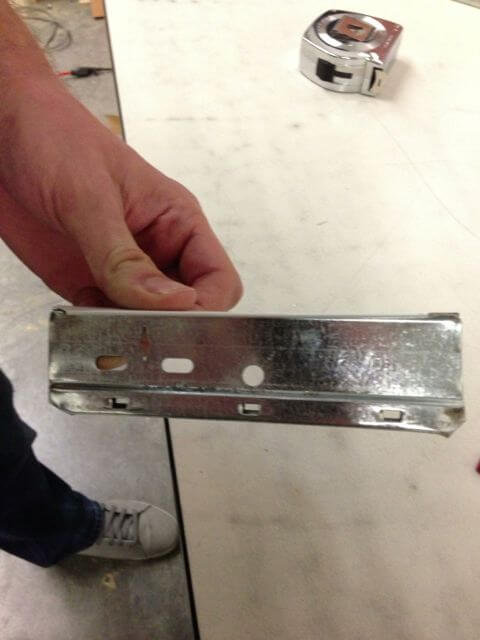
Our rail had a tiny bump near the back, which was easily flattened out using a clamp. The final step involved giving the rail a shot of spray paint to match our light stand.
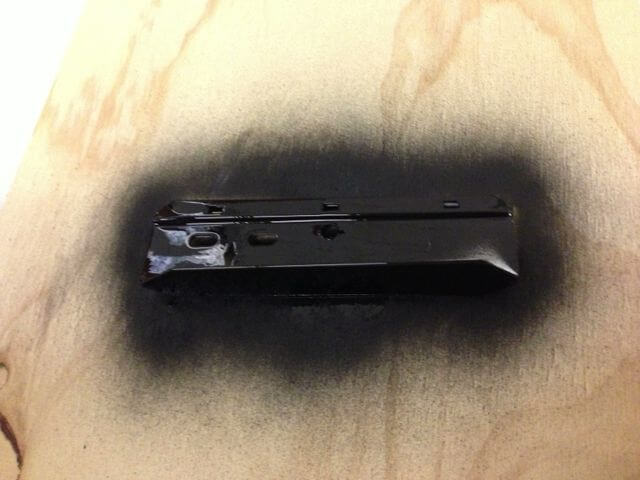
After the paint dried, we attached the rail to the light stand using a 1/4" nut and then mounted the AP to the rail. That's it – we're done and ready to move the AP stand into place.
One final note – you might have noticed a small RF chamber on the table in some of the pictures. This is something James has been building for our remote training classes, and we will document its construction and installation in an upcoming blog. Stay tuned!


